Tel : +8613285927168 Email : sales@molibon.com
Tel : +8613285927168 Email : sales@molibon.com
A flawless bond is critical in acrylic fabrication, as it guarantees strength while ensuring the material's visual appeal. The success of acrylic bonding depends on two main factors: choosing the right adhesive and the skill of the application technique.
In today’s market, acrylic sheet adhesives are generally divided into two main types — solvent-based and resin-based formulations:
(1) Resin-based acrylic adhesives achieve bonding through a curing reaction. Their advantages include excellent adhesion, no bubbles, no whitening, and high strength. However, they are complex to use, have long curing times, and are difficult to adapt to mass production.
(2) Solvent-based acrylic adhesives rely on solvent evaporation to complete the bonding process. Their advantages include fast bonding speed, meeting the needs of mass production. However, they are prone to bubble formation, whitening, and have poor weather resistance, directly affecting the appearance and quality of the finished product.
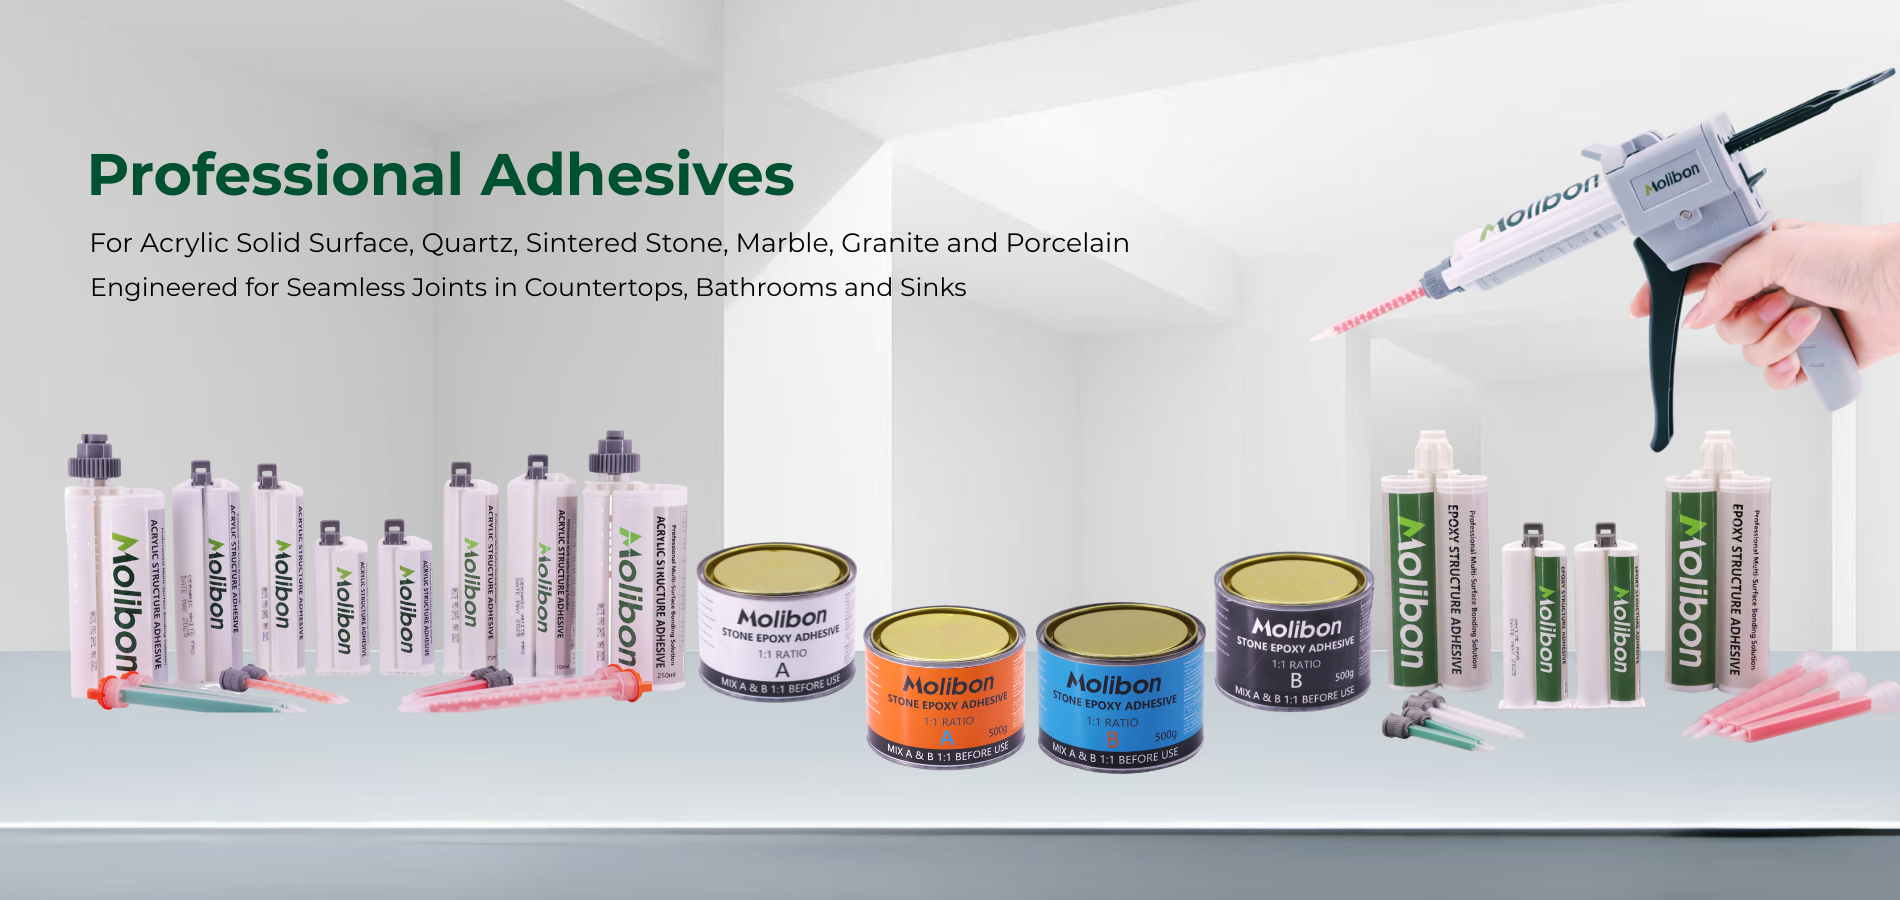
Selecting the right adhesive is critical. Molibon acrylic structural adhesive meets this need by offering a unique combination: the durability of a chemical cure and the practicality of solvent-based products. It is ideal for mass production, setting initially in 15-20 minutes and fully curing within 24 hours.

Beyond the adhesive itself, mastery of technique is vital. This guide now turns to the step-by-step procedures for common acrylic bonding applications.
1. Butt Joining
(1) Place the two acrylic sheets to be joined horizontally on the work platform.
(2) After joining them, apply a strip of tape to the bottom, leaving a gap no wider than 0.3mm for adhesive mix tip. Use a mixing nozzle to evenly and slowly apply acrylic based adhesive into the gap from one side until it is completely filled.
(3) After initial curing (approximately 15-20 minutes), remove the fixing aids. After 24 hours of complete curing, peel off the tape.

2. Facade Bonding
(1) For sheets 3mm thick or less: Using a mixer tip to slowly and evenly apply Molibon adhesive for acrylic sheet along the seam edge. The moderate viscosity of acrylic sheet joint glue will spread naturally to form a uniform bond without further steps.
(2) For sheets thicker than 3mm: For a strong bond, you can either use a thin metal wire to draw the bubble-free solid surface adhesive into the seam by capillary action—pulling the wire out before it sets—or simply apply tape for protection, spread the adhesive and lower the second acrylic sheet at an angle while pressing gently to remove air bubbles.
3. Angled Surface Bonding
(1) Use a right-angle clamp to secure the surfaces and prevent movement.
(2) Slowly and evenly apply acrylic structural adhesive along the joint.
(3) Remove the right-angle clamp only after complete curing to avoid premature demolding and subsequent displacement.

4. Flat Surface Bonding
Clean the surfaces to be bonded and position them horizontally. Apply a moderate amount of Molibon acrylic glue, then lower the second acrylic sheet at an angle, applying even pressure to push out air bubbles before the adhesive's quick initial cure locks the bond in place.


WhatsApp : +8613285927168
Email : sales@molibon.com
Phone : +8613285927168
No. 263, Lingxia West Road, Huli, Xiamen, Fujian, China


Leave A Message
Scan to Wechat :